
Imagine hosting a cozy dinner party and dazzling your friends and family with a platter of colorful, beautifully crafted sushi rolls. These bite-sized delights aren’t just a feast for the palate; they’re also a feast for the eyes, showcasing the harmony of Japanese cuisine. Making sushi rolls at home might seem daunting, but with the right guidance, you can master this art and create restaurant-quality sushi rolls in your kitchen.
This comprehensive guide will take you through every step, from choosing the right ingredients to rolling your sushi like a pro. Let’s dive into the world of sushi rolls and unlock the secrets to making them perfectly at home.
Table of Contents
What Are Sushi Rolls? A Quick Introduction
Sushi rolls, also known as maki in Japanese, are an iconic element of Japanese cuisine. These rolls consist of seasoned sushi rice and fresh fillings, wrapped in seaweed (nori) and cut into bite-sized pieces. They’re an elegant combination of flavor, texture, and artistry.
Types of Sushi Rolls
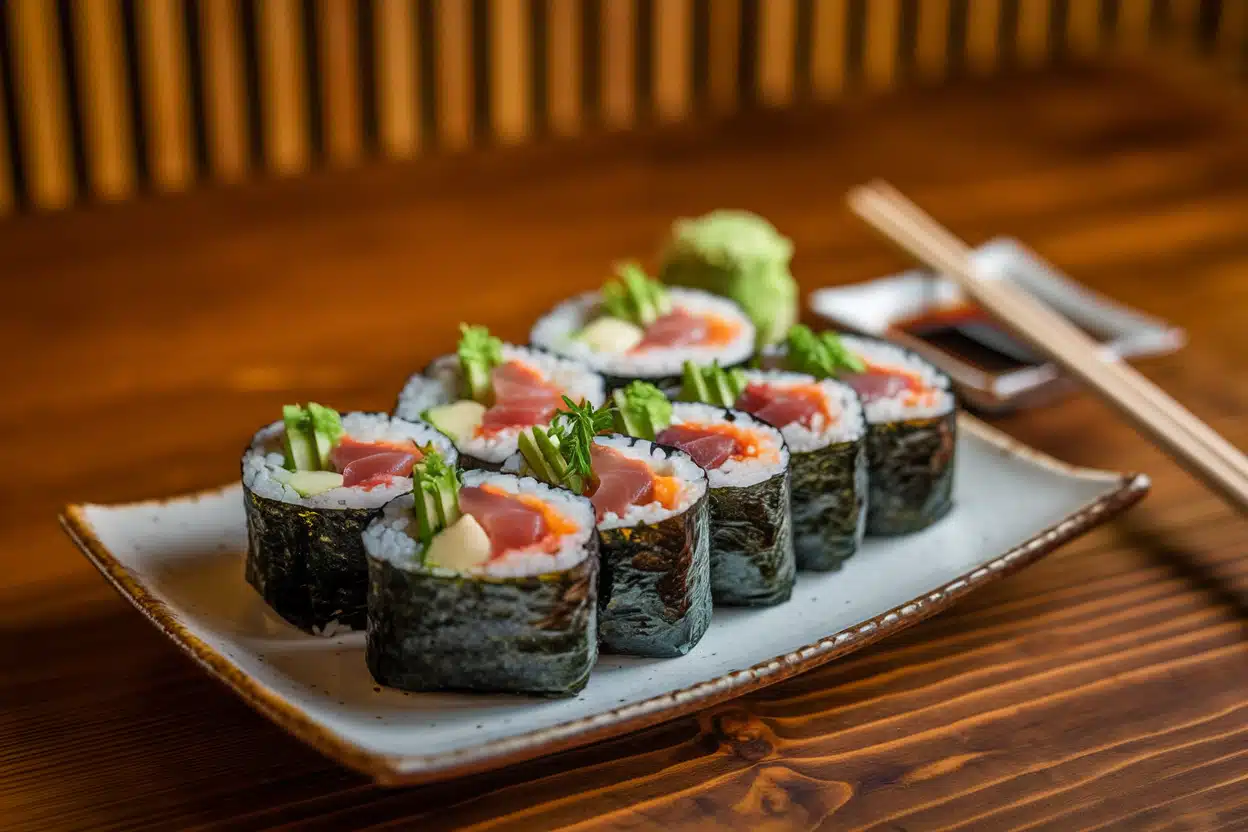
- Maki: Traditional rolls with nori on the outside, typically filled with a combination of rice, seafood, and vegetables.
- Uramaki: Inside-out rolls with rice on the outside, often coated with sesame seeds or tobiko (fish roe).
- Temaki: Hand-rolled sushi shaped like a cone, perfect for an informal, customizable experience.
- Futomaki: Thick rolls with multiple fillings, popular for their hearty size.
Making sushi rolls at home not only lets you experiment with flavors and textures but also ensures you use the freshest, healthiest ingredients tailored to your preferences.
Essential Ingredients for a Sushi Rolls Recipe
The Basics: What You Need to Get Started
Before you begin, stock your kitchen with these essentials:
| Ingredient | Quantity | Purpose |
| Sushi rice | 2 cups cooked | The foundation of sushi rolls |
| Rice vinegar | 3 tbsp | Adds tang and flavor to rice |
| Nori sheets | 5-6 sheets | Wraps and holds the rolls together |
| Fresh fish (salmon/tuna) | 200 g | Main protein for traditional rolls |
| Avocado | 1 | Creamy filling option |
| Cucumber | 1 | Provides crunch and freshness |
Optional ingredients include imitation crab, tempura shrimp, cream cheese, or even mango for a sweet twist. Having a bamboo rolling mat (makisu), a sharp knife, and a small bowl of water for dipping your fingers will make the process smoother.
How to Choose and Prepare Ingredients
Selecting Sushi-Grade Fish
When making sushi rolls with raw fish, it’s crucial to use sushi-grade fish, which has been handled and frozen according to FDA guidelines to ensure it’s safe to eat raw. Look for vibrant, fresh-smelling fish from a trusted supplier.
Preparing Vegetables
Wash and cut vegetables into thin, uniform strips for easy rolling and an even bite. Popular choices include cucumber, avocado, carrots, and bell peppers, but feel free to get creative!
Preparing Your Workspace
Set up a clean, organized workspace before you start rolling. Arrange all your ingredients within arm’s reach, and keep a small bowl of water with a splash of rice vinegar nearby to prevent sticking.
How to Prepare Sushi Rice Perfectly
The cornerstone of every sushi roll lies in the rice. Perfectly seasoned sushi rice makes all the difference.
Step-by-Step Instructions
- Rinse the Rice: Rinse the sushi rice under cold water, stirring gently, until the water runs clear. This removes excess starch and prevents clumping.
- Cook the Rice: Use a rice cooker or follow stovetop instructions to cook the rice. Ensure it’s fully cooked but not mushy.
- Season the Rice: While the rice is warm, mix rice vinegar, sugar, and salt in a small bowl. Carefully incorporate the mixture into the rice using a wooden spatula, being gentle to preserve its texture. Avoid mashing the rice.
- Cool the Rice: Spread the seasoned rice on a baking sheet or large plate to cool to room temperature.
Pro Tip: Sushi rice that’s too hot will make the nori soggy, while cold rice won’t roll properly. Aim for a warm, manageable temperature.
Step-by-Step Guide: Rolling Your Sushi
Using a Bamboo Mat for Perfect Sushi Rolls
Making sushi rolls is all about technique. Follow these steps to create beautifully tight rolls:
- Prepare the Mat: Lay a bamboo mat on a clean surface and cover it with plastic wrap to prevent sticking.
- Place the Nori: Lay a sheet of nori on the mat, shiny side down.
- Spread the Rice: Wet your fingers with water and spread a thin, even layer of rice over the nori, leaving a 1-inch border at the top.
- Add Fillings: Arrange your chosen fillings horizontally near the bottom of the rice. Don’t overfill, as this makes rolling difficult.
- Roll It Up: Lift the edge of the bamboo mat and start rolling tightly, applying gentle but firm pressure to shape the roll.
- Seal the Roll: Dab a little water on the exposed edge of the nori to seal the roll.
Pro Tip: Use a sharp, wet knife to slice your sushi roll into even pieces. Clean the blade between cuts for neat, uniform slices.

Creative Sushi Roll Variations
One of the joys of making sushi rolls at home is the endless variety. Here are some popular options to try:
Classic Rolls
- California Roll: A blend of imitation crab, avocado, and cucumber, often rolled inside-out and sprinkled with sesame seeds.
- Spicy Tuna Roll: Fresh tuna mixed with spicy mayo, paired with cucumber for a kick.
- Philadelphia Roll: Cream cheese, smoked salmon, and cucumber create a rich, indulgent roll.
Vegetarian Rolls
- Avocado Roll: Simple, creamy, and delicious.
- Veggie Tempura Roll: Crispy tempura-fried vegetables wrapped in rice and nori.
- Rainbow Roll: A colorful array of sliced fruits and vegetables for a vibrant twist.
Specialty Rolls
- Dragon Roll: Tempura shrimp, cucumber, and avocado topped with eel sauce.
- Crunch Roll: Tempura flakes add a satisfying crunch to this roll filled with shrimp or crab.
Troubleshooting Common Sushi-Making Mistakes
Even seasoned sushi makers encounter challenges. Here’s how to tackle some common issues:
- Rolls Falling Apart: Ensure you don’t overfill the roll, and apply firm, even pressure while rolling.
- Sticky Rice: Wet your hands and utensils frequently to prevent rice from sticking.
- Uneven Cuts: Use a sharp knife and a gentle sawing motion for clean slices.
Remember, practice makes perfect. Each roll you make will be better than the last!
Tips for a Memorable Sushi Night
Making sushi rolls at home can be a fun and interactive experience, especially when shared with others. Consider these ideas:
- Host a Sushi Party: Set up a DIY sushi station with various fillings and toppings so guests can create their own rolls.
- Pair with Sides: Serve miso soup, seaweed salad, or edamame to round out the meal.
- Presentation Matters: Arrange your rolls on a platter with garnishes like pickled ginger, wasabi, and soy sauce for dipping.
FAQ
Can I Use Regular Rice Instead of Sushi Rice?
While regular rice can be used in a pinch, sushi rice is preferred for its sticky texture and ability to hold rolls together.
How Do I Keep My Rolls Tight and Intact?
Use a bamboo mat and ensure your rice layer is thin and evenly spread. Apply consistent pressure while rolling for tight, well-formed rolls.
What’s the Best Way to Store Leftover Sushi Rolls?
Wrap leftover rolls tightly in plastic wrap and refrigerate. They’re best consumed within 24 hours to maintain freshness and flavor.
Conclusion
Crafting sushi rolls at home is a rewarding journey that combines culinary creativity with a taste of Japanese tradition. Whether you’re perfecting classic rolls or inventing your own creations, the process is as enjoyable as the result. With this guide, you have all the tools and tips to succeed.
Now it’s time to roll up your sleeves, grab your ingredients, and bring your sushi dreams to life. Share your sushi adventures with friends and family, and don’t forget to savor every bite!
Ready to start? Tag us in your homemade sushi photos or leave a comment below with your favorite sushi roll variation!