

Italian wedding cookies are more than just a dessert—they symbolize celebration, joy, and shared family memories. Whether served at weddings, holidays, or festive gatherings, these delicate cookies offer a delightful balance of crumbly texture and buttery sweetness. In this article, you’ll learn how to create your own batch of these timeless treats. Perfect for any occasion, they’ll bring a touch of Italian tradition straight to your table.
Table of Contents
What Exactly Are Italian Wedding Cookies?
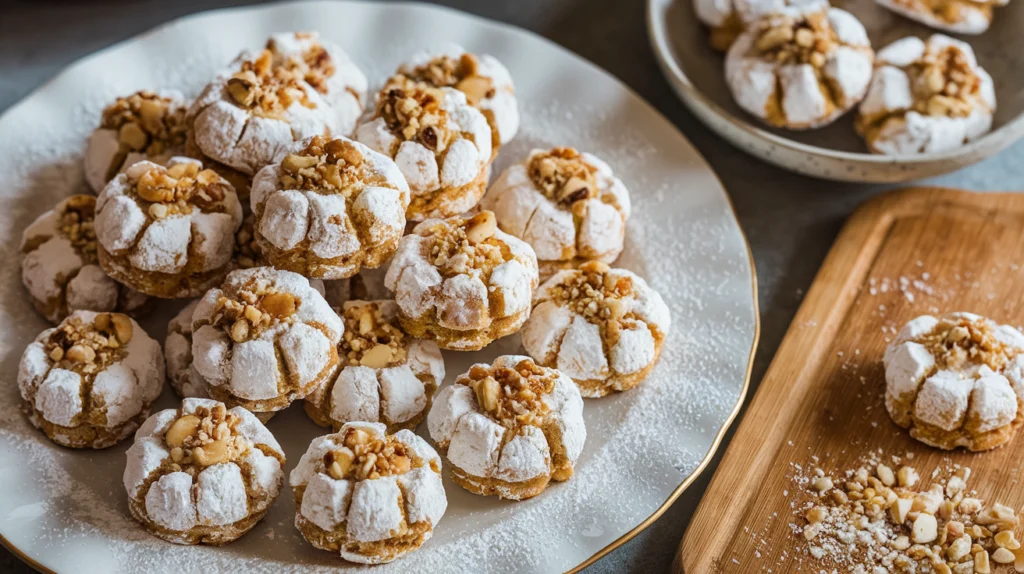
Italian wedding cookies have become synonymous with celebrations. Their signature look—a powdered sugar coating that resembles freshly fallen snow—makes them a staple during weddings, Christmas, and other festive occasions.
These cookies also go by many names globally. In Mexico, they are called Mexican Wedding Cookies, while in Russia, they’re known as Russian Tea Cakes. Despite the variety of names, the essence of these cookies remains the same: simple, nutty, and irresistibly delicious.
Ingredients You’ll Need
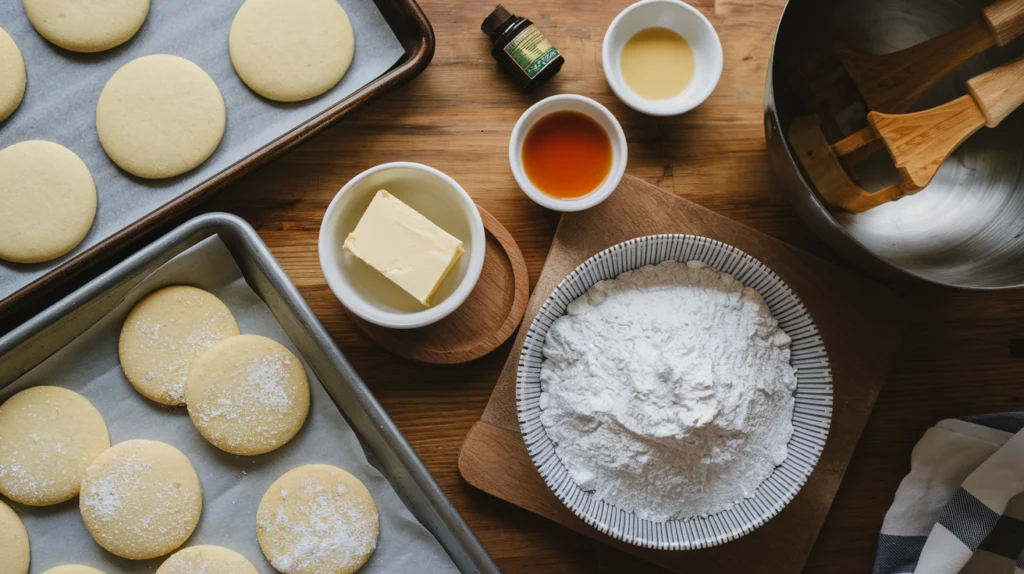
Making Italian wedding cookies begins with just a few pantry staples. Here’s the list of ingredients required:
| Ingredient | Amount | Additional Notes |
|---|---|---|
| Unsalted butter | 1 cup | Make sure it’s softened at room temperature |
| Powdered sugar | 1/2 cup | For the dough and the final coating |
| All-purpose flour | 2 cups | Sift it for the smoothest texture |
| Chopped nuts (walnuts/pecans) | 1 cup | Finely chopped for consistency |
| Vanilla extract | 1 tsp | Adds a hint of natural sweetness |
These simple yet high-quality ingredients are the key to achieving the authentic flavor of Italian wedding cookies.
Step-by-Step Instructions to Bake Italian Wedding Cookies
The process for making Italian wedding cookies is straightforward, but precision is essential for achieving the best results.
Step 1: Prep Your Kitchen
- Start by preheating your oven to 350°F (175°C).
- Line a baking tray with parchment paper to prevent the cookies from sticking.
Step 2: Mix the Dough
- Using a hand or stand mixer, cream together the softened butter and powdered sugar until the mixture is light and airy.
- Gradually incorporate the flour, nuts, and vanilla extract, mixing until the dough comes together in a soft, pliable form.
Step 3: Shape the Cookies
- Roll the dough into 1-inch balls and place them evenly on the prepared baking tray. Leave a small space between each ball for even baking.
Step 4: Bake and Coat
- Bake the cookies for about 15–18 minutes, or until they are just starting to turn golden.
- Once out of the oven, allow the cookies to cool slightly. While still warm, roll them in powdered sugar for their classic look and taste.
- Once they’re completely cooled, roll them in powdered sugar one more time for an extra coating of sweetness.
Secrets to the Perfect Italian Wedding Cookies
Even the simplest recipes have their secrets. These tips will ensure your cookies turn out perfectly every time:
- Use Quality Butter
- High-quality butter gives the cookies a rich, buttery flavor that makes all the difference.
- Toast the Nuts
- Lightly toasting the walnuts or pecans before chopping enhances their nutty flavor and adds depth to the cookies.
- Chill the Dough if Necessary
- If the dough feels sticky or soft, refrigerate it for 20 minutes before rolling. This helps the cookies hold their shape during baking.
- Double Dip in Sugar
- A second coating of powdered sugar after the cookies have cooled completely ensures they look stunning and taste even better.
Creative Twists on Italian Wedding Cookies
While the classic recipe is hard to beat, you can experiment with variations to suit your taste or dietary needs.
1. Gluten-Free Option
Replace all-purpose flour with almond flour or gluten-free flour blends. This not only makes the cookies suitable for gluten-sensitive guests but also adds a slightly nutty undertone.
2. Chocolate-Dipped Cookies
After baking, dip the cooled cookies halfway into melted chocolate and let them set on wax paper. This creates a beautiful contrast between the white powdered sugar and rich chocolate.
3. Citrus-Infused Flavor
Add a teaspoon of finely grated orange or lemon zest to the dough for a refreshing citrus kick. This variation is perfect for springtime celebrations.
Frequently Asked Questions About Italian Wedding Cookies
Q: Can I prepare these cookies ahead of time?
Absolutely! These cookies store well in airtight containers at room temperature for up to a week. They can also be frozen for longer storage, making them ideal for planning ahead.
Q: Is it possible to freeze the cookie dough?
Yes! Shape the dough into balls and freeze them on a baking sheet until firm. Once frozen, transfer them to a resealable bag and store them for up to three months. Bake straight from frozen, adding a minute or two to the cooking time.
Q: My cookies keep crumbling. What’s wrong?
Crumbly cookies are usually a result of overmixing or not enough butter. Handle the dough gently and ensure you’re using the right measurements to achieve the best texture.
Wrapping It Up
Italian wedding cookies are more than just a treat—they’re a way to celebrate life’s sweetest moments. With their delicate texture, nutty flavor, and snowy sugar coating, they’re a crowd-pleaser for any occasion. Whether you stick to the traditional recipe or put your own spin on it, these cookies are sure to impress.
So, grab your apron and try your hand at this delightful recipe. We’d love to hear about your baking experience—leave a comment below to share your results or any creative variations you tried! And if you enjoyed this guide, don’t forget to share it with friends and family who love baking.