
The Irresistible Charm of Italian Bread
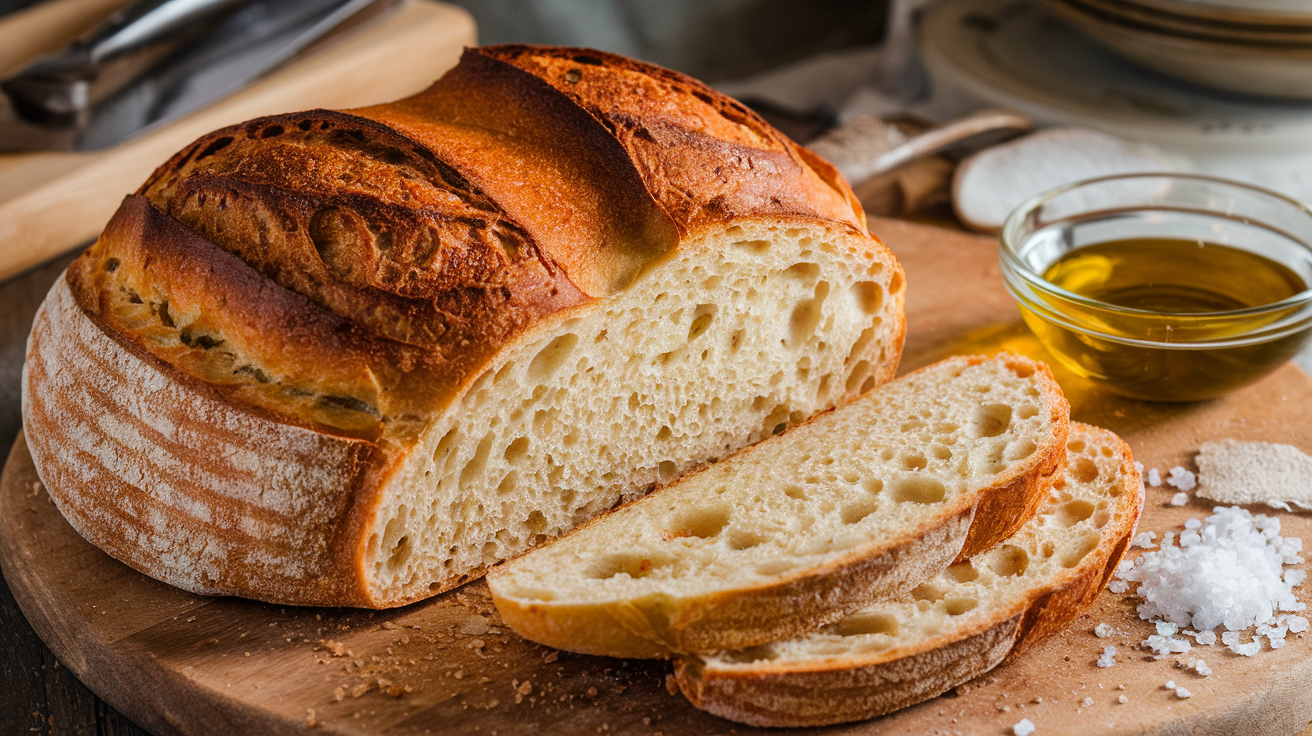
Picture this: the inviting aroma of freshly baked bread wafting through your home. As you slice into the golden crust, a soft, pillowy interior awaits, ready to be savored. Few things can match the satisfaction of baking your own bread, and Italian bread holds a special place in the hearts of bread lovers. Its simplicity and versatility make it an essential part of any meal, whether paired with a hearty stew or enjoyed on its own with a drizzle of olive oil.
Today, you’ll embark on a rewarding journey to create authentic Italian bread from scratch—an experience that will connect you to the rich culinary traditions of Italy.
Table of Contents
Why Should You Bake Italian Bread at Home?
Homemade bread isn’t just about the taste—it’s an act of love and creativity. When you bake Italian bread at home, you control the ingredients, ensuring a healthier and more flavorful loaf than store-bought options. Plus, it’s an opportunity to dive into Italian culture, where bread plays an integral role in daily life.
This recipe will guide you step-by-step to craft a loaf that’s perfect for dipping, sandwich-making, or simply tearing apart to share with loved ones. Along the way, you’ll gain the confidence to experiment and add your own personal touches.

Ingredients You’ll Need
Let’s start with the basics. Italian bread requires only a few pantry staples, but each one contributes to its exceptional flavor and texture:
| Ingredient | Quantity | Details |
|---|---|---|
| All-purpose flour | 4 cups | Choose unbleached for better results. |
| Water | 1 ½ cups | Slightly warm to activate the yeast. |
| Active dry yeast | 2 ¼ tsp | Instant yeast works just as well. |
| Olive oil | 2 tbsp | Adds richness and moisture. |
| Salt | 1 tsp | Essential for a balanced flavor. |
| Sugar | 1 tsp | Optional but helps the yeast thrive. |
The simplicity of these ingredients is what makes Italian bread so special. Using high-quality flour and olive oil can significantly enhance the final result.
Step-by-Step Guide to Making Italian Bread
Step 1: Activating the Yeast
- In a small bowl, combine the lukewarm water with the sugar and yeast.
- Let the mixture rest for 5–10 minutes until it becomes foamy. This indicates that your yeast is active and ready to work its magic.
Step 2: Mixing the Dough
- In a large mixing bowl, combine the flour and salt.
- Gradually add the yeast mixture and olive oil, stirring with a wooden spoon or spatula until a dough begins to form.
Step 3: Kneading for Texture
Kneading is what gives bread its characteristic structure.
- Transfer the dough to a clean, floured surface and knead for about 8–10 minutes.
- Work the dough until it feels smooth and elastic. If it’s sticky, sprinkle on a little more flour. If it’s dry, add a few drops of water.
Step 4: Allowing the Dough to Rise
- Lightly grease a large bowl with olive oil, then place the dough inside. Cover it with a damp cloth.
- Let it rise in a warm spot for 1–2 hours until it doubles in size. A warm oven (turned off) can be a great place for proofing.
Step 5: Shaping and Final Proofing
- After the first rise, punch down the dough to release air bubbles.
- Shape the dough into your desired form—whether it’s a long loaf, round boule, or small rolls.
- Allow the shaped dough to rise again for 30–40 minutes.
Step 6: Baking the Bread
- Preheat your oven to 375°F (190°C).
- If you want a crisp crust, place a shallow pan of water on the bottom rack of your oven to create steam.
- Bake your bread for 25–30 minutes. When it’s done, it should sound hollow when tapped on the bottom.
Pro Tips for Exceptional Italian Bread
- Enhance the Crust: Use a pizza stone or baking steel for a professional-level crust.
- Get Creative: Sprinkle fresh rosemary or sesame seeds on top before baking for added flavor.
- Steam Is Key: A little steam in the oven goes a long way toward achieving that bakery-quality crust.
These tips will elevate your baking game and make every loaf unique and memorable.
Perfect Pairings for Italian Bread
Italian bread is endlessly versatile. Here are a few ideas to inspire your next meal:
- Appetizer: Serve slices with olive oil and a dash of balsamic vinegar for dipping.
- Main Course Companion: Pair it with hearty dishes like minestrone or chicken cacciatore.
- Snack: Turn it into bruschetta with diced tomatoes, garlic, and fresh basil.
No matter how you serve it, Italian bread is a crowd-pleaser that complements any meal.

Frequently Asked Question
What Makes Italian Bread Different from Other Breads?
Italian bread typically has a soft, airy interior with a thin, crispy crust. Olive oil is often added, which enhances both flavor and texture.
Can I Freeze Homemade Italian Bread?
Yes! Wrap the bread tightly in plastic wrap or foil, then store it in an airtight freezer bag. It’ll keep well for up to three months. When ready to enjoy, thaw it at room temperature and reheat in the oven.
How Do I Customize My Italian Bread?
You can easily tweak this recipe by adding ingredients like herbs, garlic, or even sun-dried tomatoes to the dough. It’s a fantastic way to experiment and make the recipe your own.
For more baking tips, check out trusted resources like King Arthur Baking, or learn about the history of Italian bread on Italy Magazine.
Conclusion: Your Bread-Making Adventure Awaits
There’s something truly special about making your own Italian bread. It’s more than just a recipe—it’s a chance to embrace tradition, connect with loved ones, and enjoy the satisfaction of creating something delicious with your hands.
Now that you have all the tools and tips, it’s time to put them into practice. Gather your ingredients, roll up your sleeves, and let the magic of Italian bread-making transform your kitchen.
What’s Next?
If you loved this recipe, share it with friends or leave a comment about your baking journey. Don’t forget to subscribe to our newsletter for more authentic recipes and kitchen inspiration!