
There’s something magical about waking up to the enticing aroma of a freshly baked cornetto. Picture yourself in a bustling Italian café, savoring a warm, flaky pastry alongside a velvety cappuccino as the morning sun filters through the window. This isn’t just breakfast; it’s a moment of indulgence that embodies the Italian dolce vita.
But what if you could recreate this magic in your kitchen? With this guide, you’ll master the art of crafting authentic Italian cornetti—bringing the heart of Italy to your table. Let’s dive into the world of cornetti and discover how this pastry can transform your mornings.
Table of Contents
What Is an Italian Cornetto?
The cornetto, pronounced “cor-NET-to,” is Italy’s beloved take on the breakfast pastry. While its shape resembles the French croissant, the similarities largely end there. The cornetto boasts a softer, sweeter texture with a more delicate crumb. Its flavors are often enhanced by subtle hints of citrus zest or vanilla, making it uniquely Italian.
A Cultural Icon of Italian Breakfasts
In Italy, breakfast is typically a light affair, with cornetti serving as the centerpiece. You’ll find locals standing at the bar of a café, enjoying a cornetto with their coffee in an unhurried ritual. Cornetti are more than food—they’re a cultural experience, representing the Italian approach to life: simple, flavorful, and steeped in tradition.
Cornetto vs. Croissant: What’s the Difference?
While croissants are flaky and buttery with a crisp exterior, cornetti have a softer, slightly denser texture. Cornetti dough incorporates more sugar and eggs, making it richer and more tender. Additionally, cornetti are often filled with jams, custards, or Nutella and glazed for a glossy finish.
Ingredients: The Building Blocks of Perfection
The beauty of the cornetto lies in its simplicity. With just a few quality ingredients, you can create a pastry that’s rich, aromatic, and utterly satisfying.
Key Ingredients for Cornetto Dough
To make cornetti that rival those found in Italy, precise measurements and high-quality ingredients are essential. Here’s what you’ll need:
| Ingredient | Quantity | Notes |
| All-purpose flour | 500g | Opt for high-quality, sifted flour for a tender crumb. |
| Butter | 250g | Unsalted and cold; use European-style butter for extra richness. |
| Sugar | 50g | Granulated, to add a touch of sweetness. |
| Milk | 200ml | Warm (not hot) to activate the yeast. |
| Dry yeast | 7g | Use active yeast for reliable results. |
| Salt | 1 tsp | Enhances the overall flavor. |
| Eggs | 2 | Adds richness and structure to the dough. |
Optional Fillings and Toppings
What makes cornetti truly special is their versatility. Once you’ve mastered the dough, you can experiment with various fillings and toppings to suit your preferences.
- Fillings:
- Fruit preserves (e.g., apricot or raspberry)
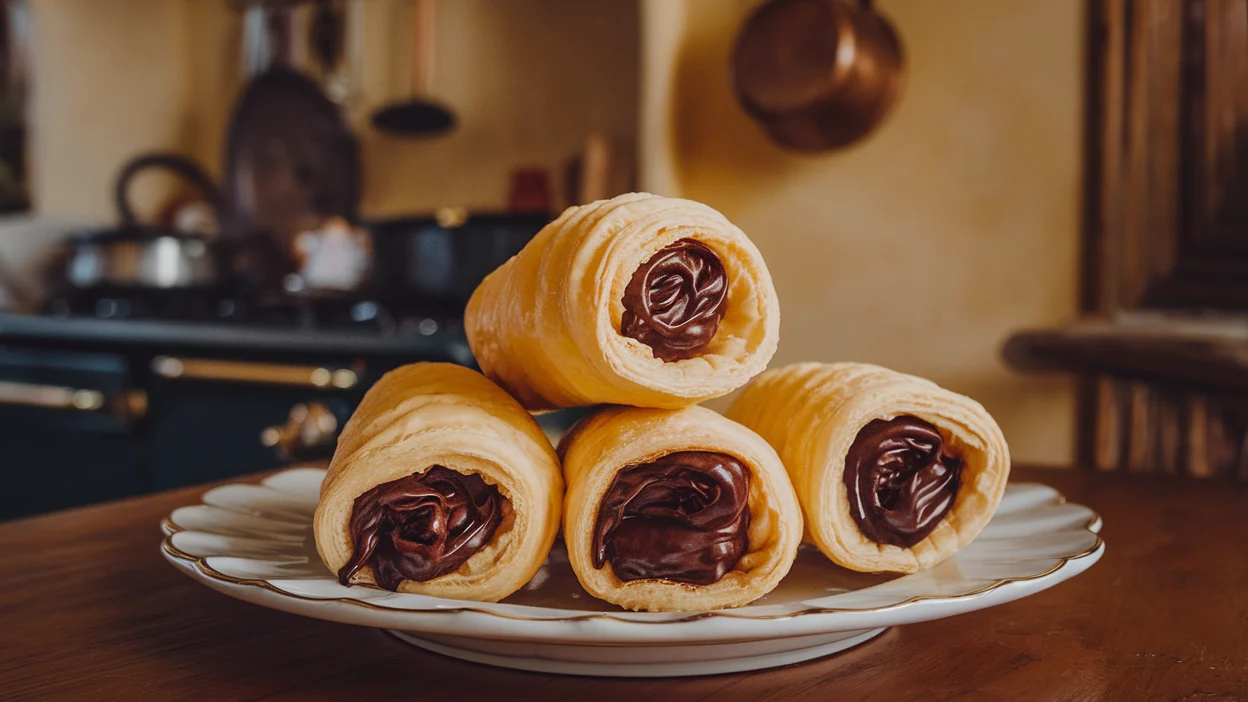
- Nutella or other chocolate spreads
- Vanilla or lemon custard
- Toppings:
- A dusting of powdered sugar
- A drizzle of honey glaze
- Sliced almonds or pearl sugar for added texture
Step-by-Step Italian Cornetto Recipe
1. Preparing the Dough
The foundation of any great cornetto is its dough. This process may take time, but the results are well worth the effort.
- Activate the Yeast: Start by combining warm milk with a pinch of sugar and yeast. Let it rest for 10 minutes until frothy. This step ensures your yeast is alive and ready to work its magic.
- Mix the Dry Ingredients: In a large mixing bowl, whisk together the flour, sugar, and salt.
- Combine Wet and Dry: Gradually mix the yeast mixture into the dry ingredients, followed by the eggs and softened butter. Stir until a rough dough forms.
Kneading Tips
Knead the dough for 10–12 minutes until it’s smooth and elastic. If the dough is sticky, sprinkle a little more flour, but be cautious not to overdo it—soft, slightly tacky dough yields the best results.
2. Laminating the Dough
Lamination creates the layers that make cornetti so irresistible. This step requires incorporating butter into the dough through several folds, creating light, flaky layers.
Roll out the dough into a large rectangle.
- Spread cold butter over two-thirds of the rectangle.
- Fold the unbuttered third over the center, then fold the buttered side on top, like folding a letter.
- Allow the dough to rest in the fridge for 30 minutes to help the butter firm up.
Allow the dough to rest in the fridge for 30 minutes to help the butter firm up. The key to successful lamination is keeping the butter cold and the folds neat.
3. Shaping and Proofing
Once the dough is laminated, it’s time to shape your cornetti.
- Roll the dough into a large recta.
- Cut it into triangles with a base approximately 3 inches wide.
- Starting at the base of each triangle, gently roll the dough toward the tip, forming a crescent shape.
Proofing for Success
Place the shaped cornetti on a baking tray lined with parchment paper. Cover them with a clean kitchen towel and let them proof in a warm spot for 1–2 hours, or until doubled in size.
4. Baking to Golden Perfection
Preheat your oven to 375°F (190°C).
- Brush each cornetto with an egg wash (a mixture of beaten egg and a splash of milk) to give it a golden, glossy finish.
- Bake for 15–20 minutes, or until the cornetti are golden brown and your kitchen smells like an Italian bakery.
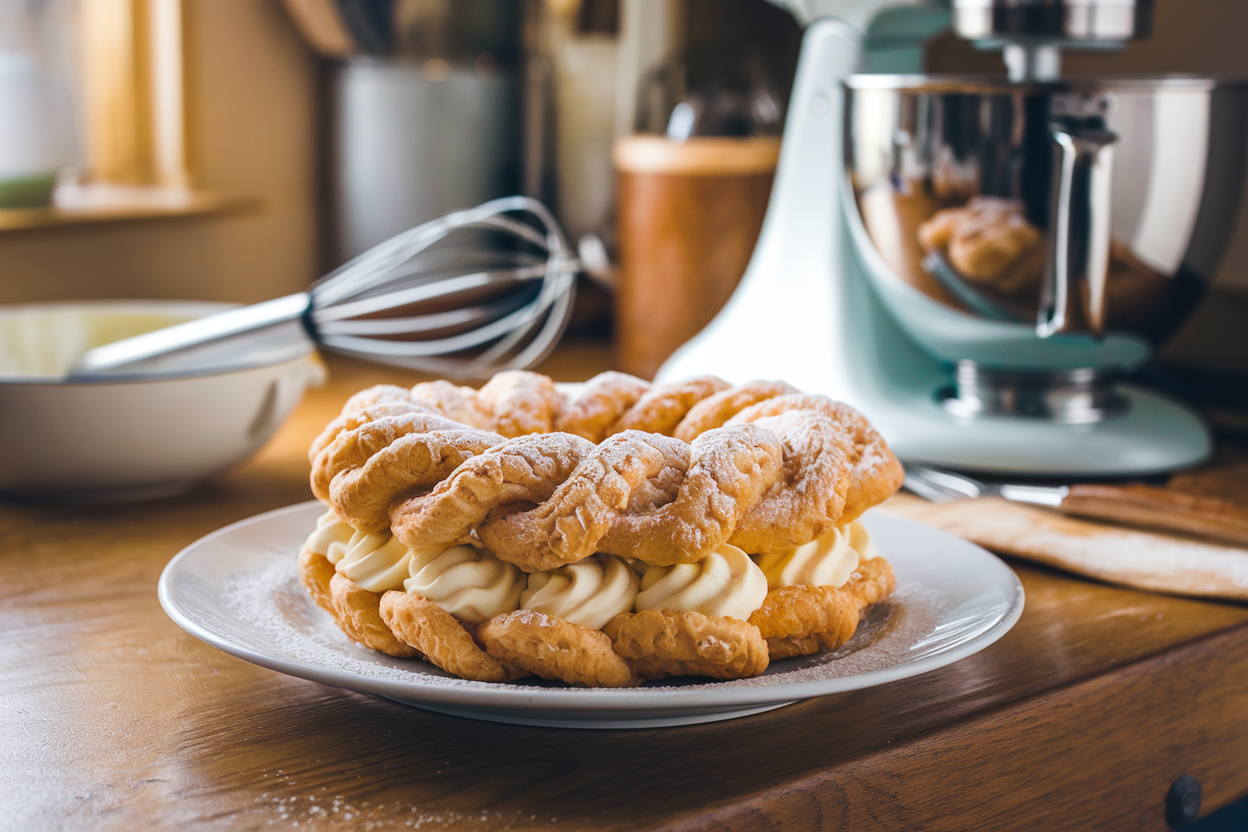
Serving the Perfect Italian Cornetto
Cornetti are best enjoyed warm, with their buttery layers melting in your mouth. Pair them with a frothy cappuccino or freshly brewed espresso for an authentic Italian breakfast.
For added decadence, serve your cornetti with small bowls of jam, honey, or even whipped cream. This elevates the experience and gives you a touch of café elegance at home.
Store any remaining cornetti in an airtight container at room temperature for up to two days. To revive their freshness, warm them in the oven at 300°F (150°C) for a few minutes.
Cornetto Recipe Tips & Tricks for Success
- Be Patient: Cornetti require time for kneading, proofing, and laminating. Rushing these steps can compromise the texture and flavor.
- Cold Butter Is Key: Ensure the butter stays cold during lamination to prevent it from melting into the dough.
- Experiment with Flavors: Add a teaspoon of orange zest or a splash of vanilla extract to the dough for a unique twist.
- Practice Makes Perfect: Don’t be discouraged if your first batch isn’t perfect—cornetti improve with practice!
FAQs About Italian Cornetto Recipe
What makes Italian cornetto different from croissants?
Cornetti are sweeter, softer, and more aromatic, often featuring fillings or toppings that croissants don’t typically include.
Can I make cornetti without a stand mixer?
Yes! While a stand mixer makes kneading easier, you can knead by hand. It’s a bit more effort but equally rewarding.
Can I prepare the dough in advance?
Absolutely. You can refrigerate the dough overnight after laminating or freeze the shaped cornetti for up to a month. Thaw and proof them before baking.
What’s the best way to reheat cornetti?
Warm them in the oven at 300°F (150°C) for 5–7 minutes to restore their buttery texture and aroma.
Conclusion: A Taste of Italy at Home
There’s nothing quite like the joy of biting into a homemade cornetto. From its tender, flaky layers to its rich, buttery flavor, this pastry is a labor of love that pays off with every delicious bite. By mastering this recipe, you’re not just baking—you’re bringing a slice of Italian tradition into your home.
Now it’s your turn to create this magic! Follow the steps, get creative with fillings, and enjoy the process. Share your cornetto creations in the comments below, and don’t forget to subscribe to our newsletter for more authentic recipes and culinary inspiration
Buon appetito! 🌟